


In this blog post, we will show you each step in building a half-wall with wainscoting on one side: demolition, building the stud wall, installing drywall, installing battens, caulking, and painting.
Background
We decided it was time to renovate my craft room. My craft room is in our loft. This space is perfect for my craft and sewing projects.
To view a YouTube video about our total loft renovation click HERE.
Below is a picture of my craft room before we renovated it. Notice the cedar post and railing. This is what we removed to add the half wall with wainscoting. The wainscoting will be on the stairwell side of the half wall.


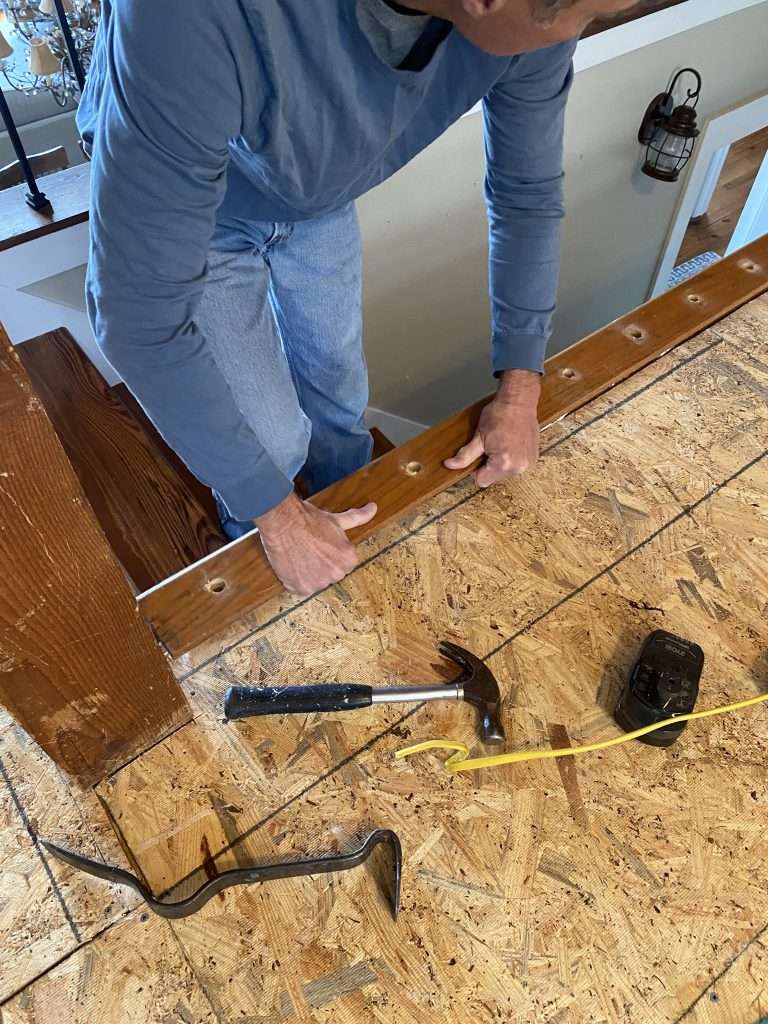
Demolition
We opted to remove the existing handrail, metal spindles, and cedar post, which did not provide any structural purpose.

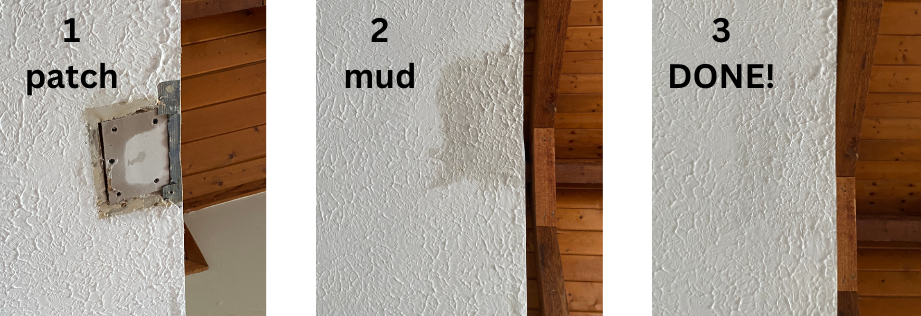
Patching the Ceiling
Removing the post left a hole in the ceiling, so we patched this with a small piece of drywall and used sheetrock mud and a stipple paintbrush to make it match the existing stipple ceiling.

Building the Stud Wall
We built a frame with 2x4s and screwed this to the floor. Notice we added an electrical outlet in the half wall.

Installing Drywall
Our next step was installing drywall on both sides of the wall.

Finishing the Drywall
We mudded, let dry, and then sanded the mud. We had to mud and sand a few times to get the finished result.

To learn more about how to install drywall, click HERE.
Adding Trim
Using our table saw, we ripped a pine board for the top of the half wall. We cut it to overhang about a half inch on both sides of the knee wall. This top board was installed with finishing screws.

Installing Wainscoting
We opted to install wainscoting on the stairwell side of the half wall. To do this, we installed a wider horizontal piece of trim on which the batten would rest and a 1 x 4 horizontal piece of trim that the top of each batten would touch. We cut battens from 1 x 2 pine wood.
Below are the measurements.

Caulking and Painting
We caulked the top and sides of each batten as well as the other trim. Our final step was to paint this wall.

Below is the final result!
This is the stairwell side.

This is the loft side.

To see a detailed video on how we built the half wall, check out the video below.

To see a time-lapsed video of how we built the half wall, click HERE.
To see the video of our loft/craft room renovation from start to finish, watch the YouTube video below.

Don’t forget to pin this for future reference.

Let us know if you have any questions or what you think by commenting below. Happy DIYing!

