
Lake House Renovation: One DIY Project at a Time

We enjoy DIY home improvement projects because we enjoy learning and improving our home. We hope that our lake house renovation and other DIY home improvement experiences show you how to improve your home.
Exterior House Pictures BEFORE and AFTER
The street side before and after
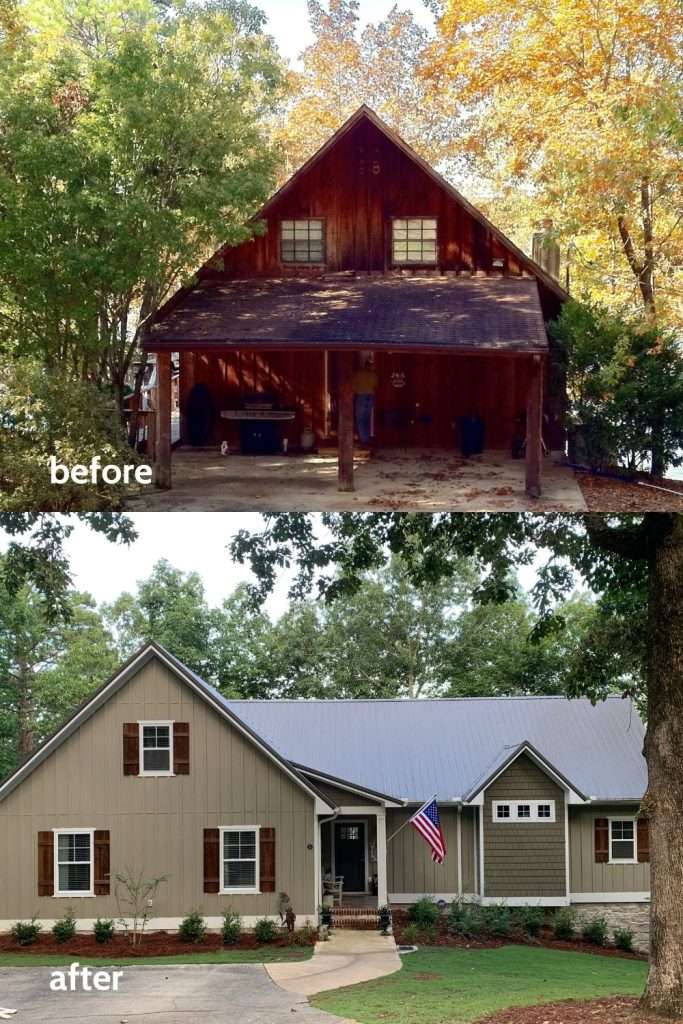
The lake side before and after

Background
In March 2011, we purchased our lake house; it was a foreclosure. Our lake house was originally just a weekend place, but now it is our permanent home. In 2013, we renovated the existing house and built an addition. We employed a contractor for the major part of this construction and some of the renovation; however, we have done several major DIY home improvement projects since 2013 and improving our house remains a labor of love with many projects to go!
Neal and I enjoy doing DIY home improvement projects together. We both enjoy working hard and seeing the transformational process.
As Neal often says, “This is not the highlight reel, but the real reel.” So our hope is you will learn from our DIY successes and mistakes!
Our lake house is not perfect, but it is perfect for us!
Throughout this post, we provide links in case you want to explore this specific project a little deeper.
Renovation of the Original Part of Our House
The street side exterior during construction
Removing car port and cedar siding

Reconfiguring windows and door

Progress . . . the new front door will be in the new addition.

The side of the house during demolition

And the side of the house after spray foam.

The roof after spray foam and before installation of metal roof … Oh my!

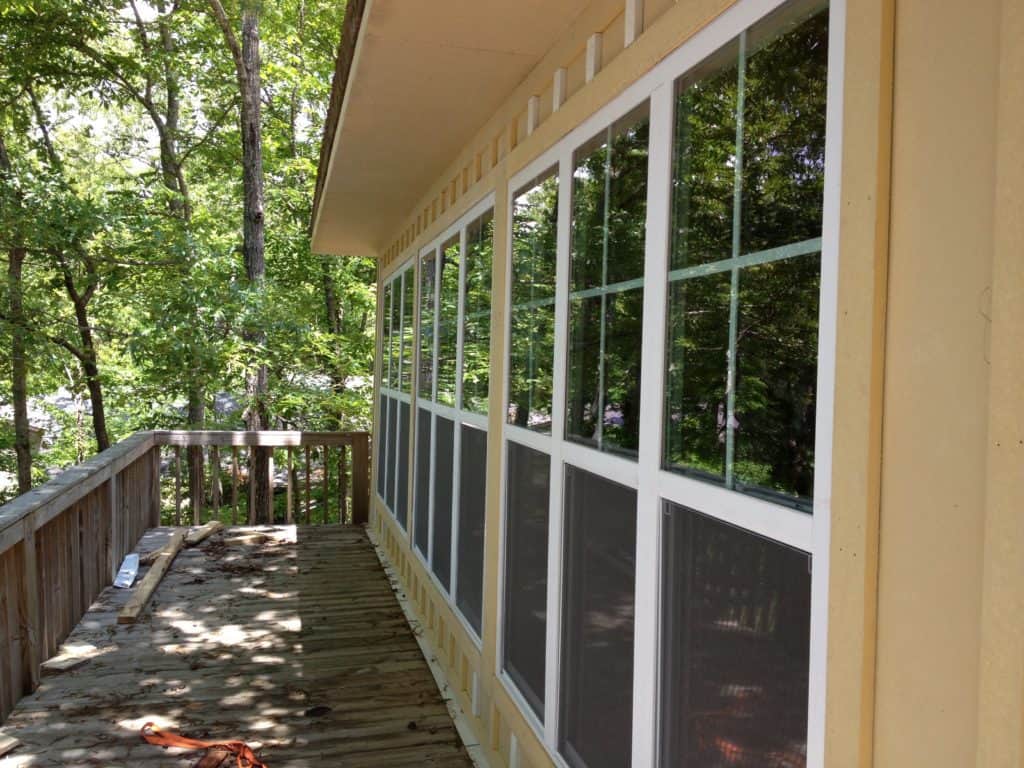
The lake side with old windows and doors.

The lake side with new windows installed.
Kitchen Renovation
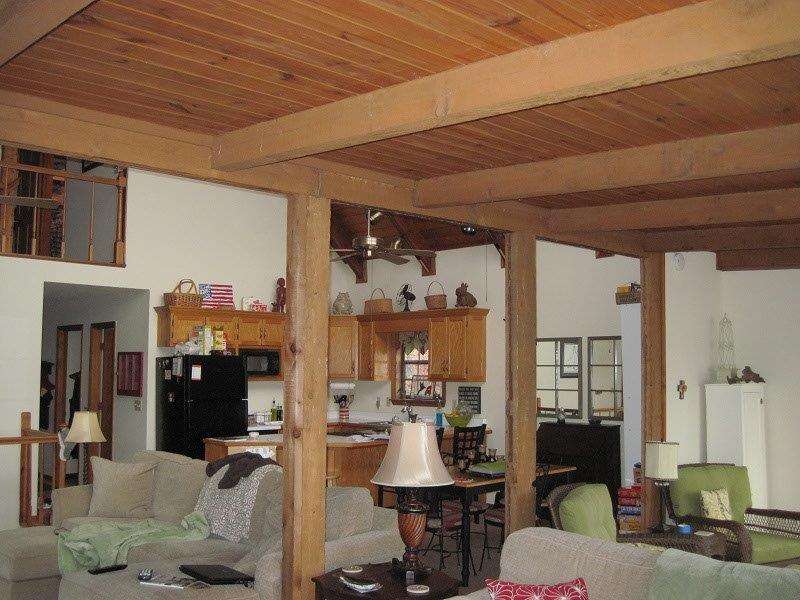
This is our kitchen before.

Kitchen in process…

And below is our kitchen (and dining area) after renovation.

Living Room Renovation
Before renovation
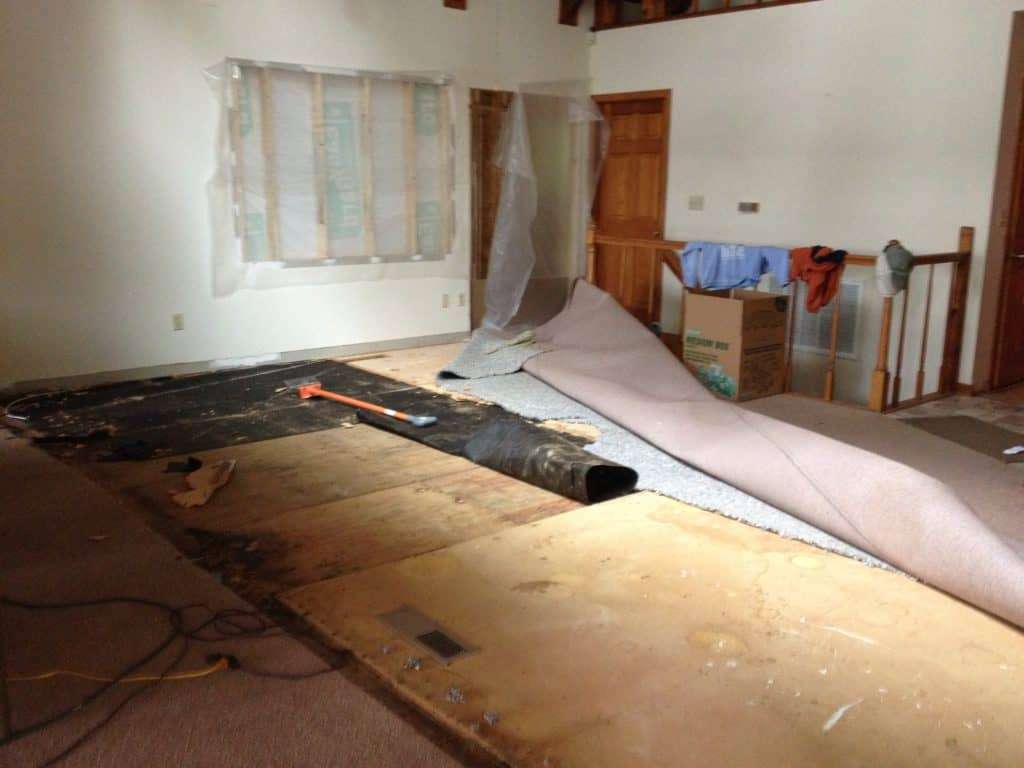
Living area during renovation
Windows with View of the Lake
Large Picture Windows
The old picture windows
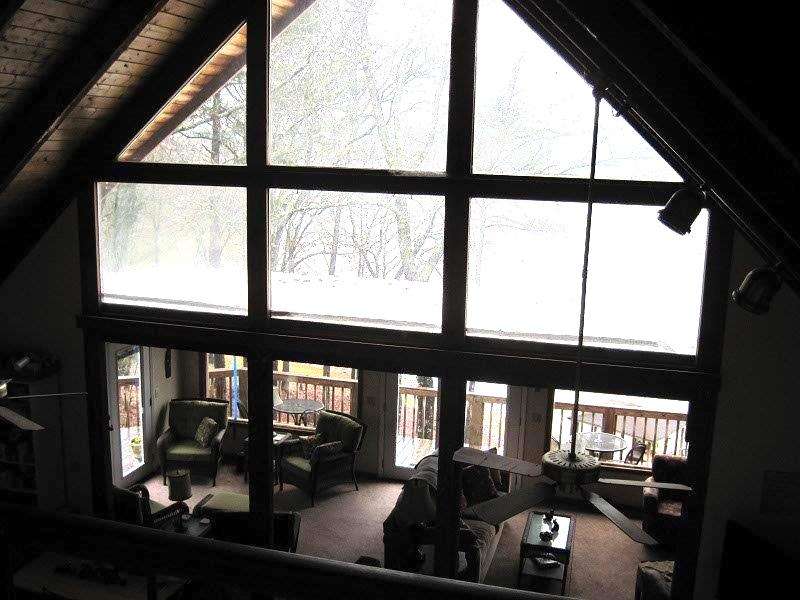
Framed for new picture windows

The new picture windows

Old windows

New windows and installation of heart pine flooring

New heart pine flooring and banister

Fireplace
This is our fireplace before renovation.
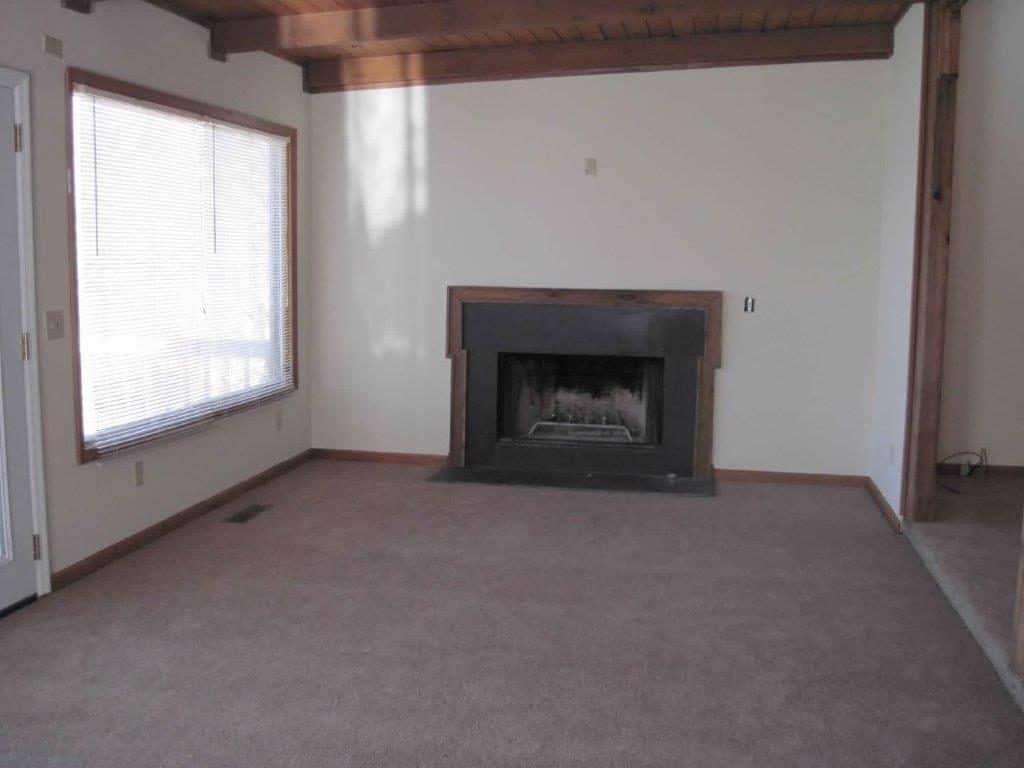
And this is our fireplace after we renovated it.

Click HERE to learn more about the fireplace update.
Loft Renovation
This is a picture before we renovated the loft.

Another before picture

In progress

And this is a picture after we renovated the loft (Suz’s craft room/office).

To learn more about the loft (craft room ) renovation, click HERE.
Basement Transformation
This is a picture before we renovated the basement.
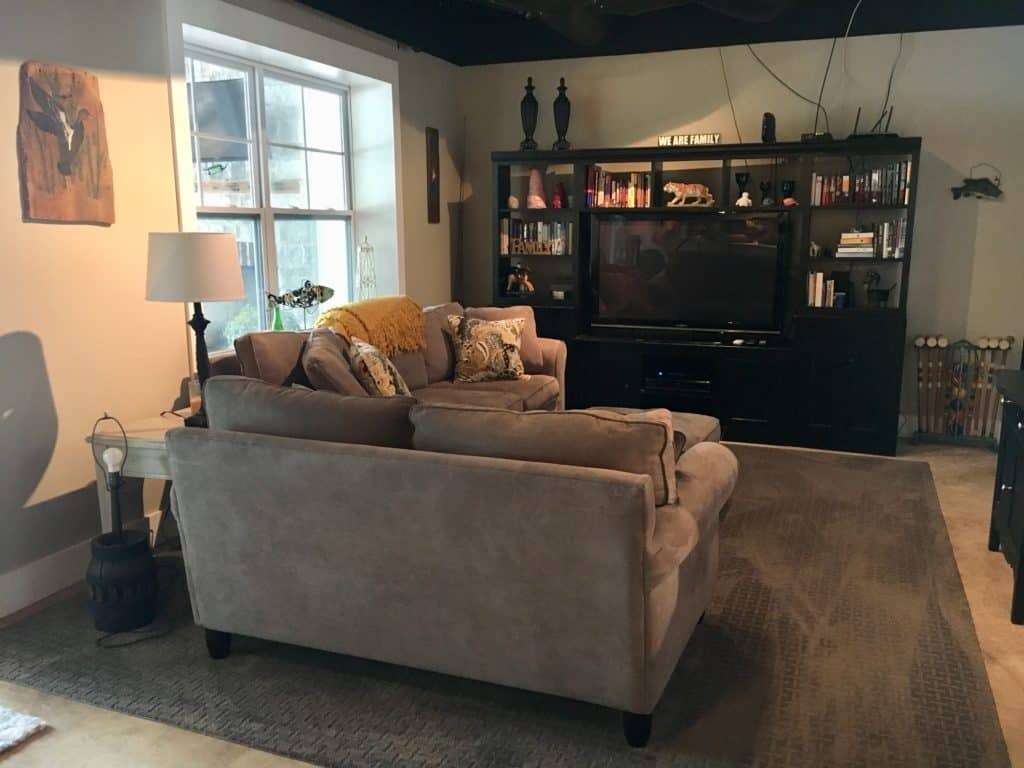
In progress…

Below is a picture of the renovated basement.

To learn more about the basement renovation, click HERE.
House Addition

Lake side of the new addition
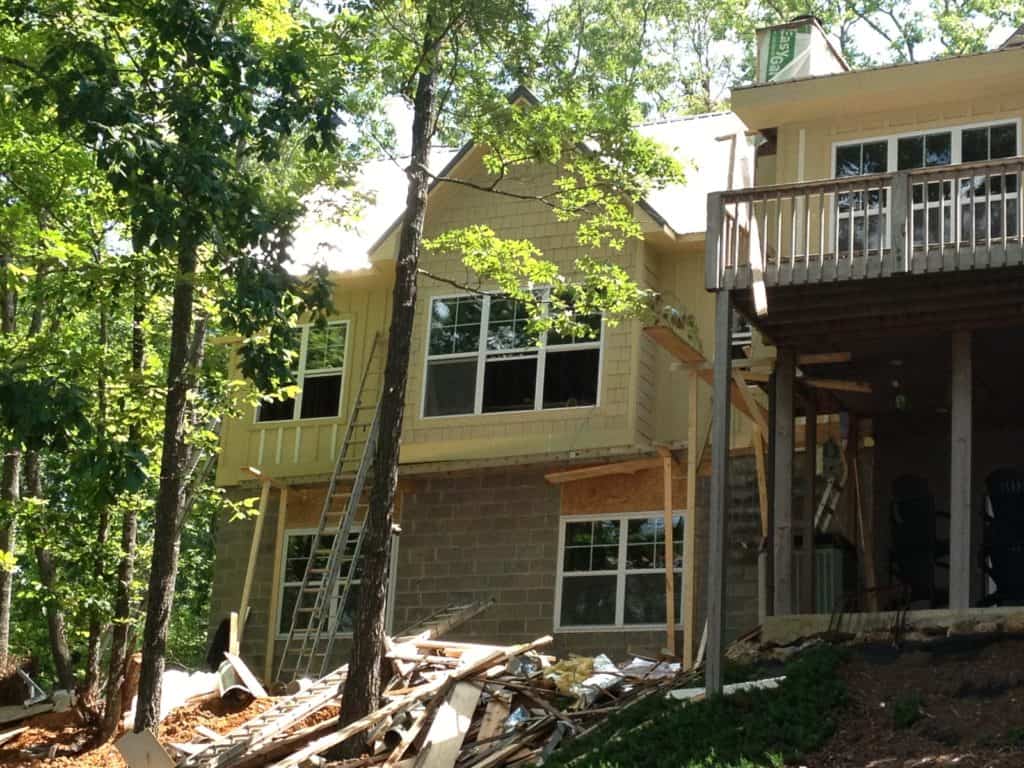
Framing the new addition and connecting it to the existing house

More framing…
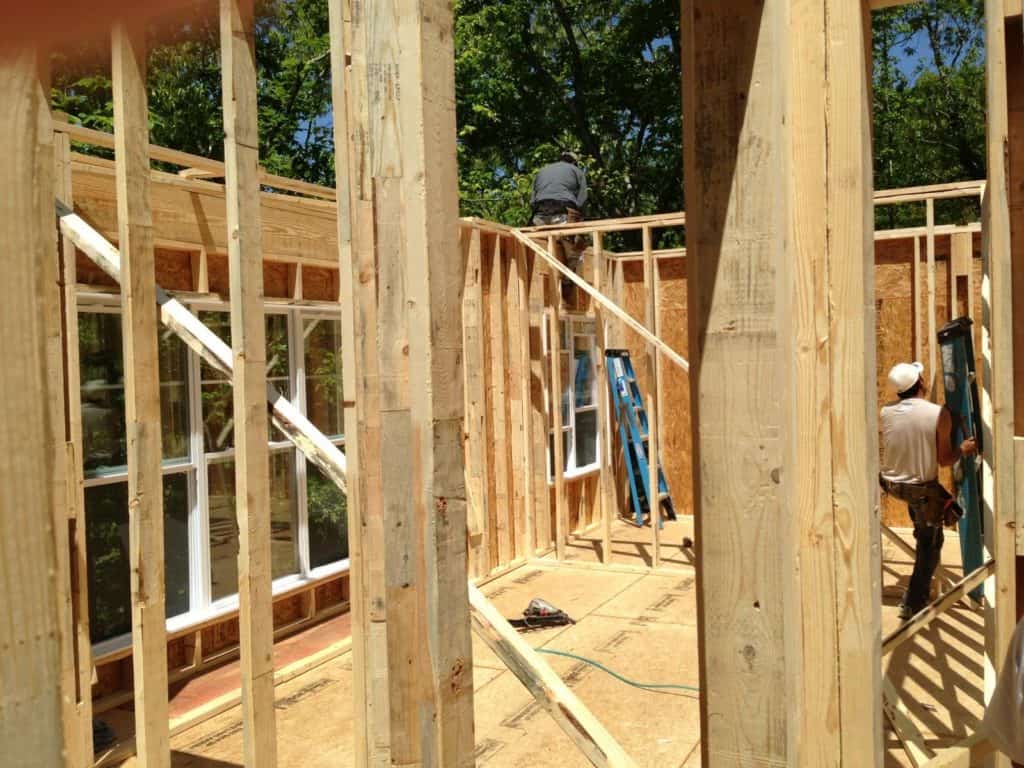
Our new front porch and front door are under construction

Drywall . . . making progress…

Outside Spaces
Porch Transformation
This is a picture of our porch before we updated it.

Adding a double window

Installing simulated stone
To learn more about installing simulated stone, click HERE.

Under construction

Outdoor fireplace under construction
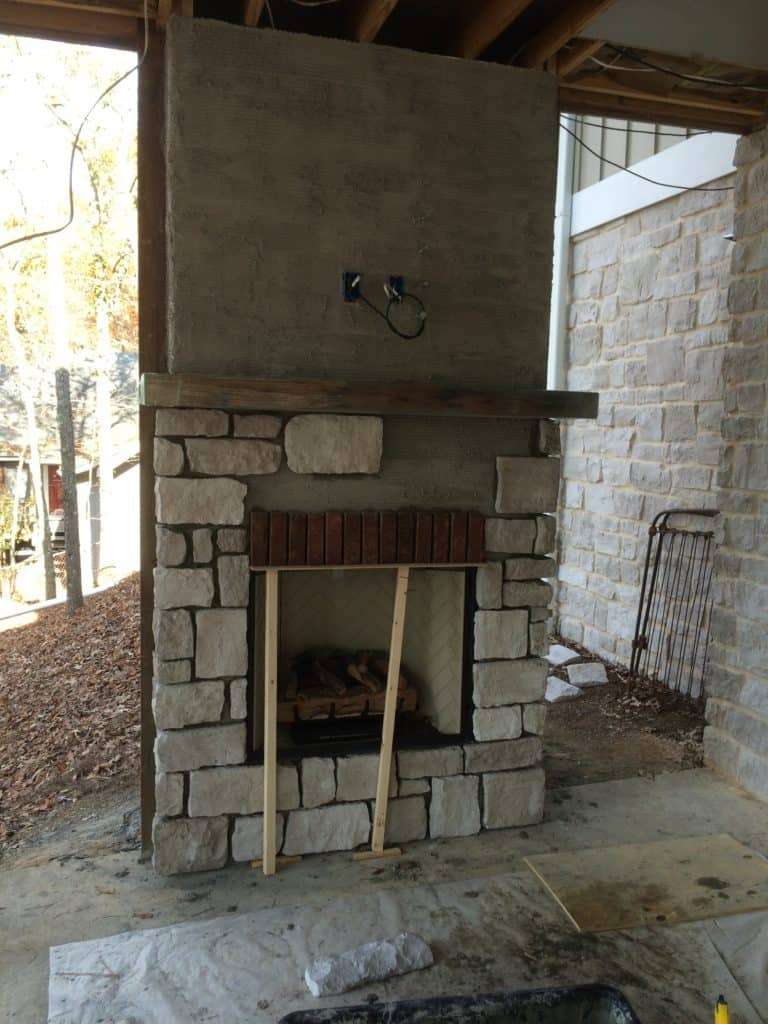
And this is our porch after the transformation.

To learn more about building our fireplace click HERE.
And to learn more about renovating our porch, click HERE.
Deck Railing

To learn more about how we flipped our deck boards, click HERE.
And to learn more about how we installed hog wire deck railing, click HERE.
Streetside Shed
Our sad toolshed

And our much-improved tool shed

To learn how we updated our shed, click HERE.
Concrete Path to the Lake
We originally had wood steps leading to the lake. These steps were challenging for some and were a constant maintenance issue. So we decided to add a concrete path that would enable us to drive a golf cart to the lake.
This is a before picture of our concrete path to the lake . . . so many steps!
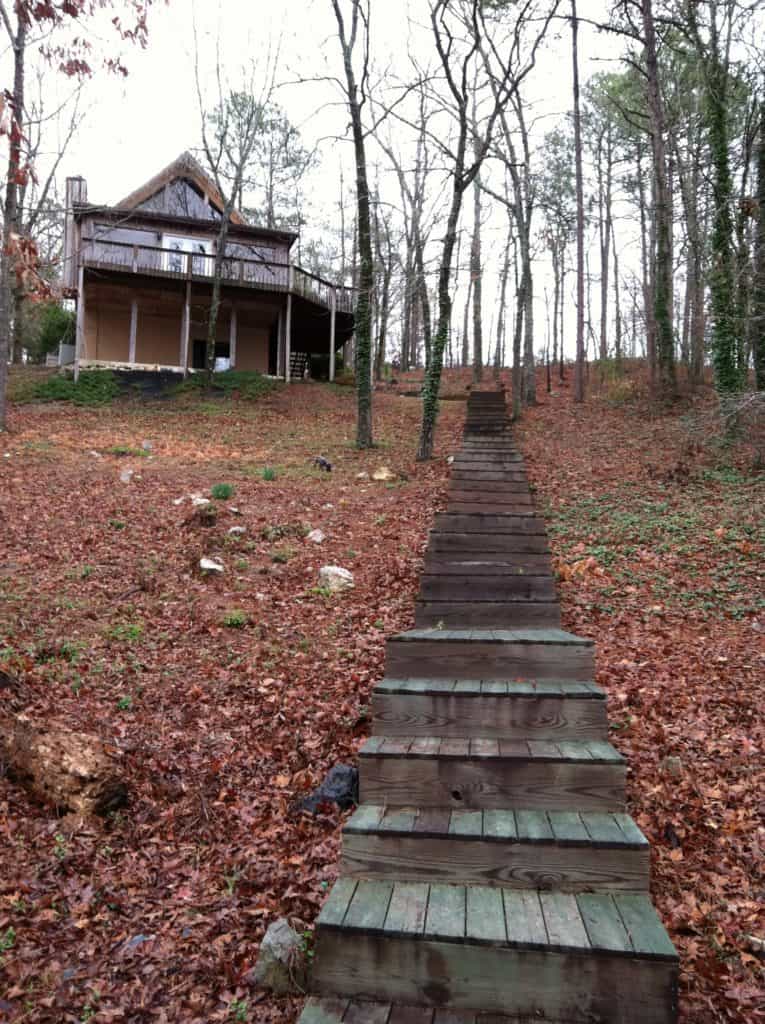
Below is a picture of our house was renovated but before the concrete path.
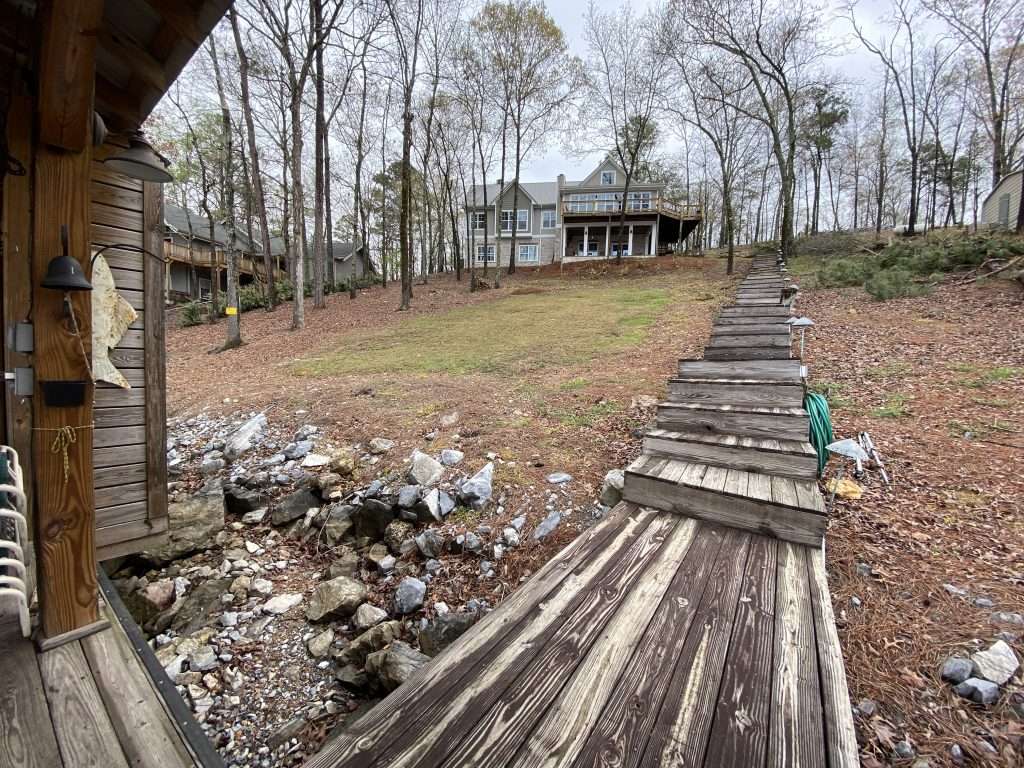
The beginning of the path

The framed path

And the final concrete path to the lake.
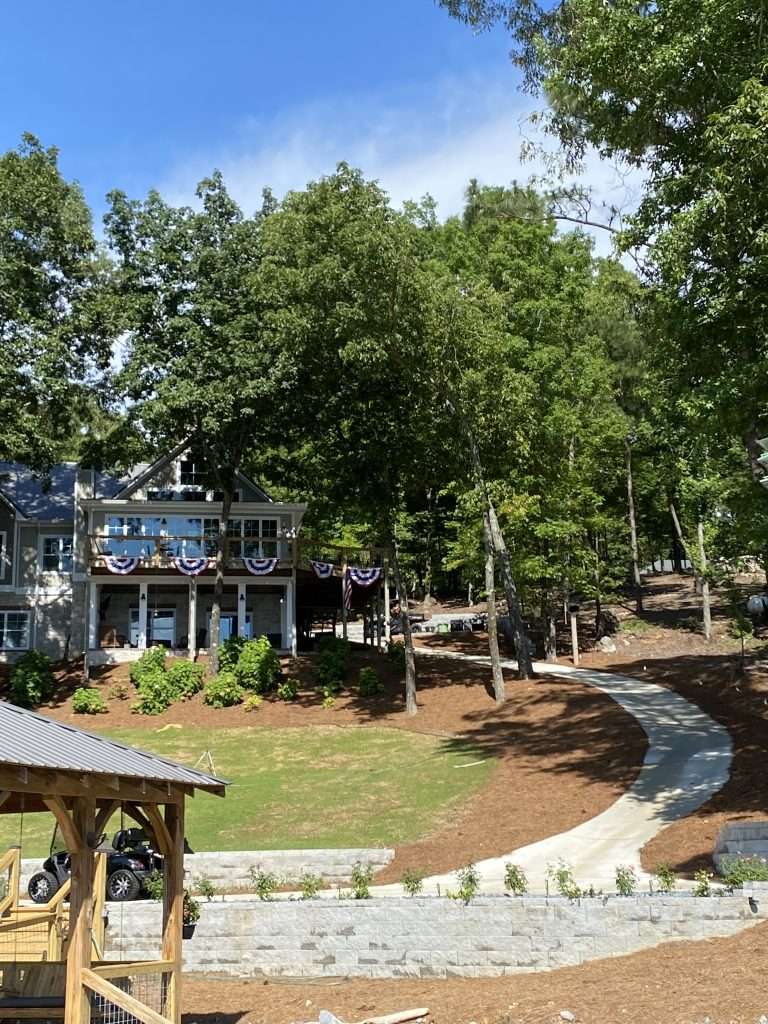
To learn how we constructed our concrete path, click HERE.
Dock/Boat House
This is a before and after picture of our dock (and boat house).

Click here to see more details about Building our Boat House/Dock.
And click here to see how we built a barn door for our dock closet.
After a hard day of working on a DIY project, we enjoy the sun setting over the lake. We hope you enjoy these sunsets too.

Good Night Lake!

Please continue to check our blog for future updates and other DIY home improvement projects.
Don’t forget to Pin this for future reference.
Let us know if you have questions or what you think about our lake house renovation by commenting below.
Happy DIYing!

This doesn’t look like the same house! I like the changes you made.
Thanks, Andrea! It was a lot of work, but we really enjoy our home. Stay tuned to see more updates!
Your house looks so cozy!
Nice posts! 🙂
___
Sanny
Whats up very nice web site!! Man .. Excellent .. Amazing .. I’ll bookmark your blog and take the feeds also…I’m glad to search out so many useful information right here within the put up, we’d like work out extra techniques on this regard, thanks for sharing.
[…] renovated our house . . . and installed quarter […]
[…] painted the exterior to match our house. The color is Sherwin Williams Fawn Brindle. Click HERE to learn more about our house renovation […]
Absolutely love what you did with everything! My husband and I are mostly DIYer’s ourselves, and while the skill and enthusiasm is there, we keep running into one important hurdle – design! How did you come to make your design decisions as you went along. Did you start with the full design in mind and work project by project towards it? If so, how did you make the decision to pull the pin and stick with one “style”. It all looks so cohesive, and we so frequently have our projects look pieced together because we can’t seem to achieve a common look. Any advice that way?
Can we book your design services 🙂
Thanks, Michelle for asking your question!
We lived in our house (as a part-time lake house/cabin) for several years before we renovated and built the addition. We really thought about how we used each space. Neal is also a real estate appraiser so he has seen MANY houses (some well designed and other not so much). We have also renovated two houses previously. Looking at magazines and Pinterest also helped us to get ideas.
In the existing part of our house, we knew we wanted an open living area and the existing layout of the house allowed that. We literally laid out spaces and studies them for months. Originally, we were going to put the dining area where our sitting area is. We are glad we changed this. When you are renovating, you have to plan/design within the existing space except for maybe moving a wall/columns or adding/replacing windows. Neal does have a real eye for seeing the potential and having completed two major renovations in the past also helped. Once we had things laid out, we took our ideas to a draftsman to draw the plans.
When planning/designing the addition, we knew some things we wanted. We wanted long windows on the lakeside and when possible using odd numbers (3, 5 or 9) on things like windows, although we do have double windows in several places. We wanted neutral colors (cabinets, paint, etc.). We wanted each adult child to have their own bathroom. We wanted a large walk-in closet so we could keep all of our clothes in one place and have less furniture in our bedroom. We also wanted everything to look as timeless as possible. The draftsman put all of these ideas on paper too.
However, once we completed the renovation, there were several areas/spaces we wanted to redo or further renovation. We did not like our paint colors in the basement, so we finally changed them a few years later. In other words, now that we have lived in our house for several years, we study an area (our porch, the loft, the basement ceiling, the basement floor, our deck, etc.) and then look at pictures on Pinterest. We also really think about how we use this space and the ultimate look we want to accomplish. I must admit that Neal has a real gift in designing spaces and over the years, I am better at decorating (still not great, but getting better thanks to Pinterest). Sometimes, we have planned a project for a year or more.
We still have SEVERAL projects. For example, I don’t like our granite countertops anymore. I wish we had taken more time to select them; they are too busy. Replacing them will not happen any time soon. I also want to replace or recover what we call our “flowery chairs” in our sitting area because they are worn and the fabric is TOTALLY outdated. We are also in the process of replacing our deck rail.
All this to say, our goal is to create a timeless look. We do not want to be too trendy and have to change things often. We also want our home to represent our family memories. We want it to be us.
So my advice would be to decide the look and feel you want by looking at Pinterest and other sources. Then, really study your spaces to see what is possible. Think about colors, layout, and any extra design features you want to add. Then, create a plan to slowly transform these spaces.
I hope this helps. Feel free to share more about your project ideas. I would love to see what you are considering.
Be blessed,
Suzanne
[…] 2011, we purchased our lake house. In 2013, we renovated and added an addition. Our deck is original to the house and we have been contemplating what to do […]